


I LOVE Instagram, I think it’s great, I used it in loo of a blog for many years. The only thing I don’t love is that my pictures just live on my feed, I can’t see them everyday without scrolling all the way down. So, a few years ago, when the Instagram photo magnets were all the rage, I decided to come up with a way to make them myself (for less)! I have ton’s and ton’s of pictures, I couldn’t spend like $20 for 9 magnets, I wanted MORE!
Here’s a tutorial for how I did it, it does require a bit of work, but it’s worth it!
Supplies. A computer : A photo editing app or something that can create and edit images : a magnet sheet : Some free time 🙂
First I went to a website that can load Instagram on my computer, I really like Ink361 . You will log into your Instagram and then you will just click on your picture to make it big and drag it onto your desktop. I put them all in one folder on my desktop so that they’re easy to find.
From there I created a 5×7 blank image with an editing app, I have a Mac and used Pixelmator (They have a free trail you can try if you don’t have an editing app). You can also create an 8 x 10 blank if you prefer that.

Then I sized all the pictures to 2 x 2 inches and placed 6 pictures onto the blank 5 x 7 image. I then saved that image to my desktop, and then did it all over again until I had all my desired pictures onto a 5 x 7 blank.
I then uploaded those 5 x7 pictures onto Costco’s website and got them printed! You can use whatever site you like, snapfish and iPhoto are good too! If you don’t have that many you can just print them out at home, you can use photo paper if you want them glossy! But ink is expensive!!! So, if you have a lot, just send them out and wait a day, or so, to get them back.

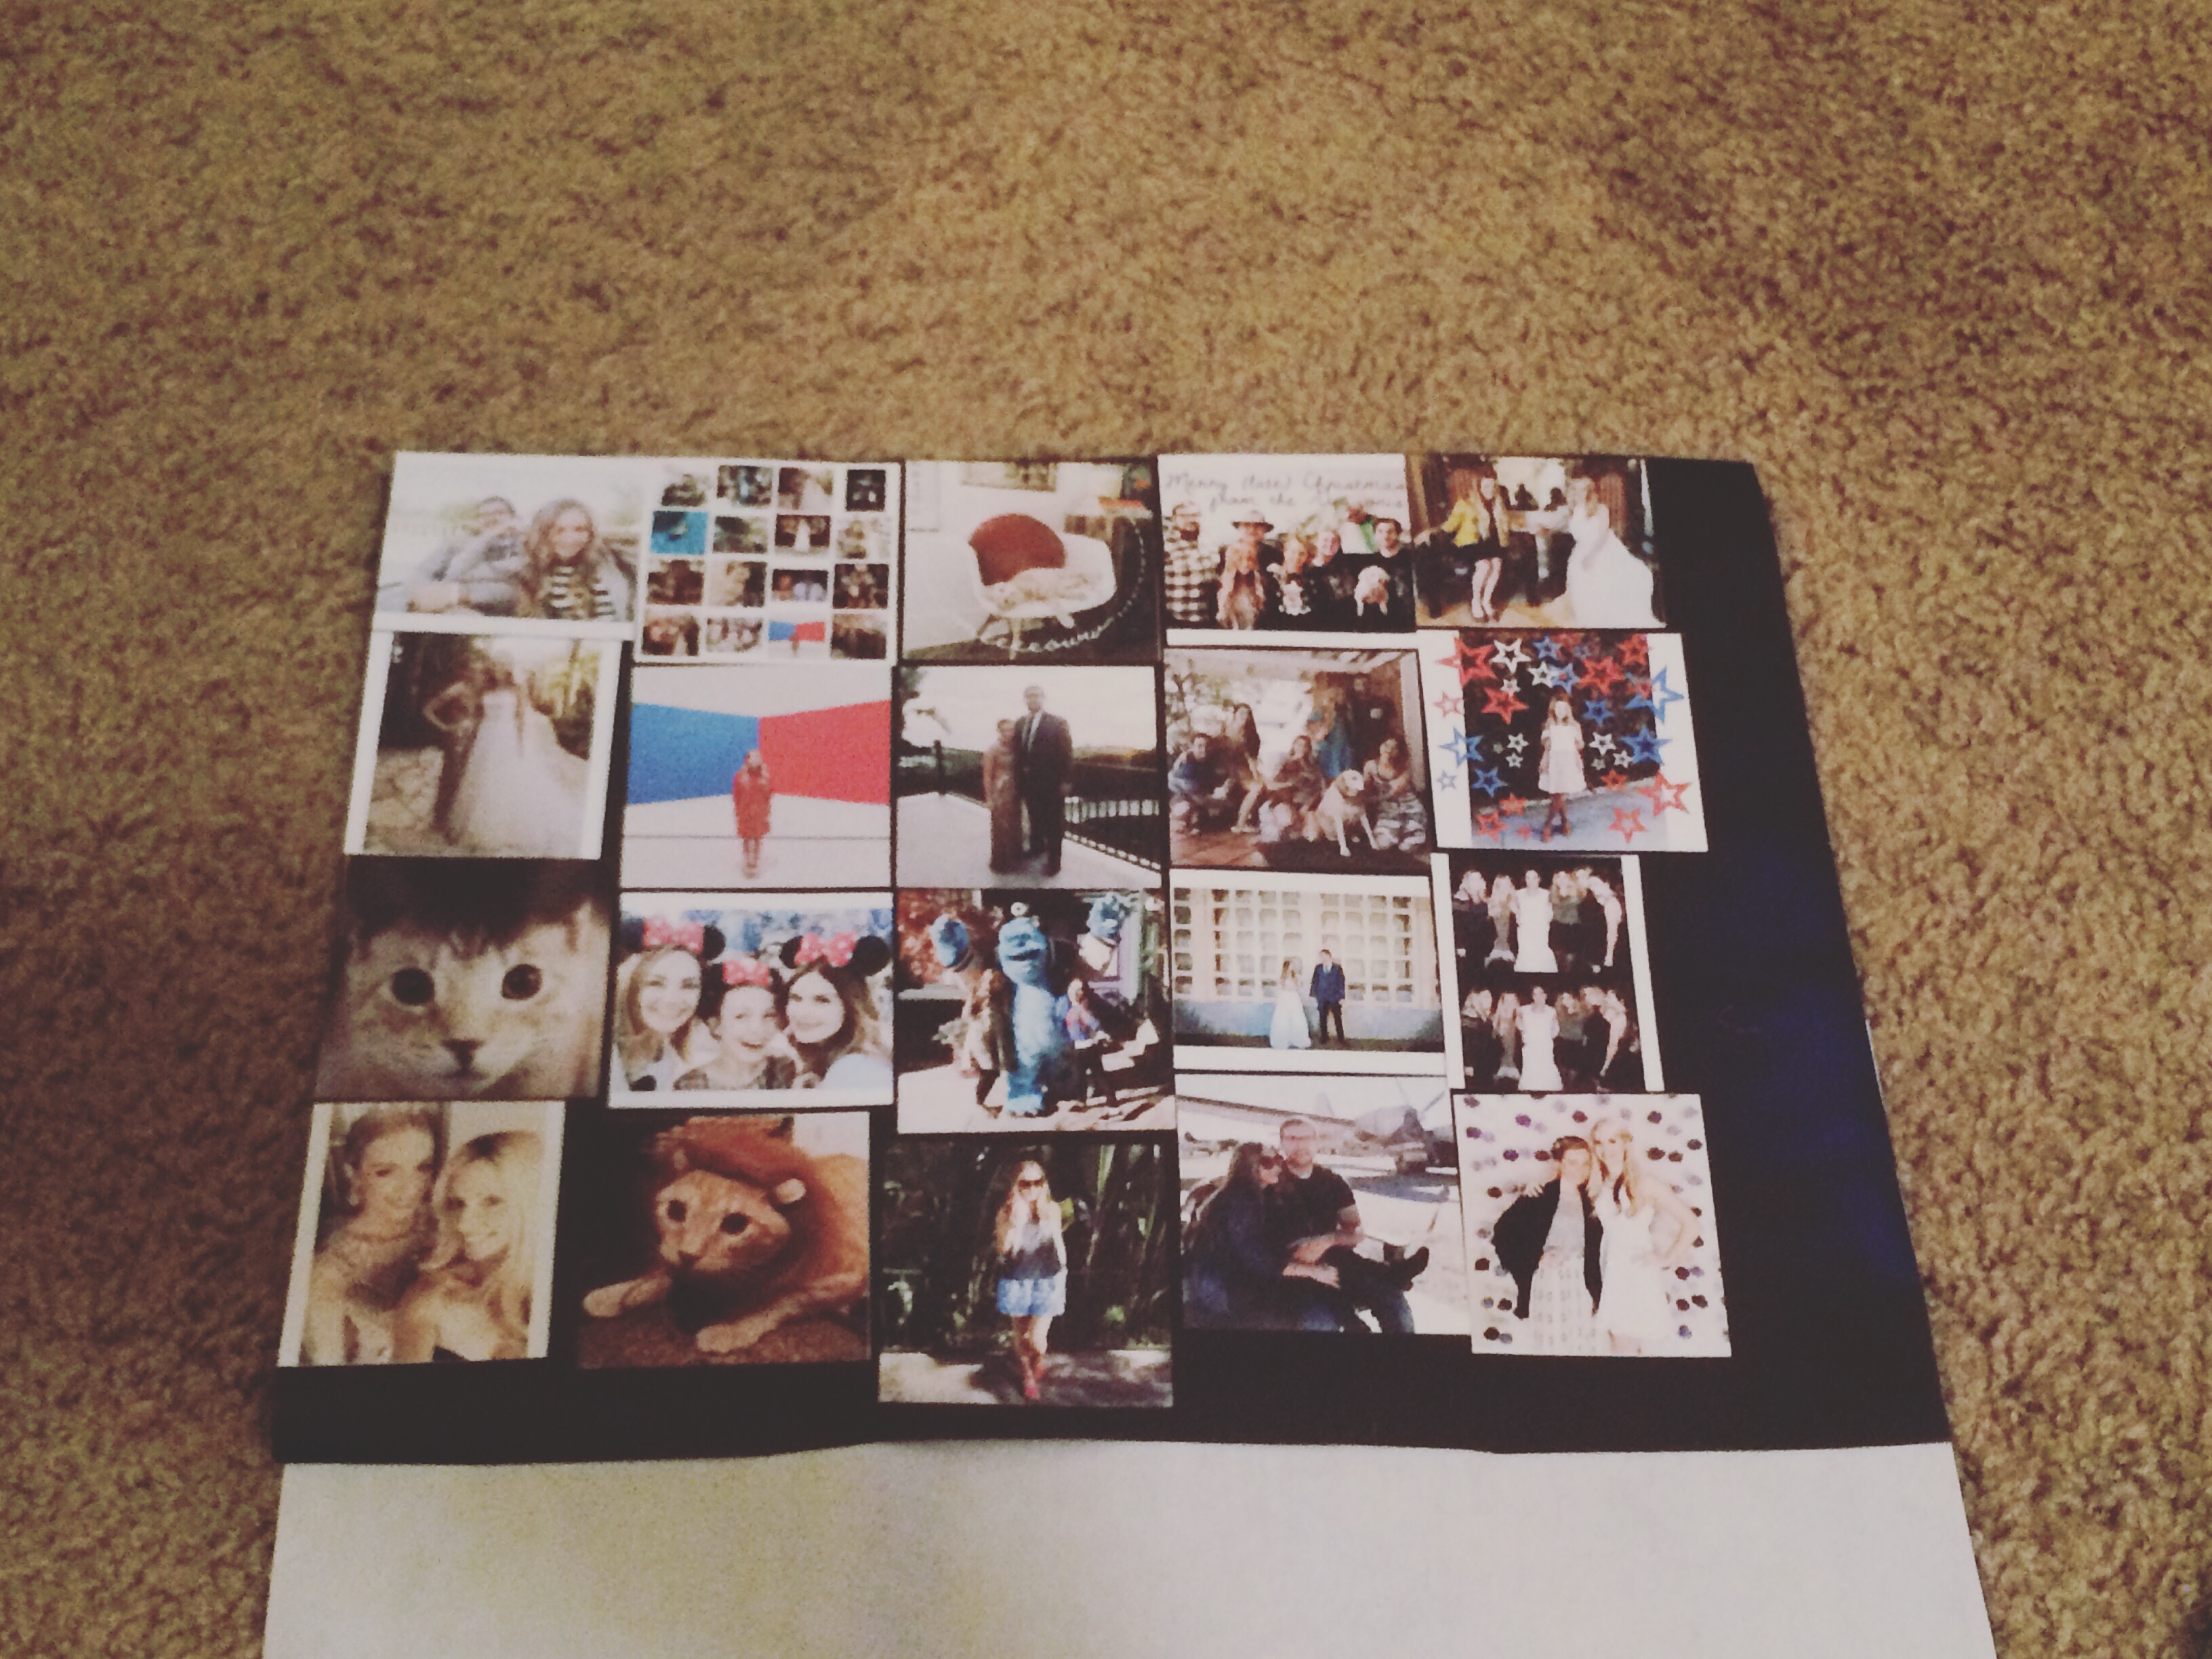
Cut the pictures out and place them on the magnet sheet. Then I cut the picture out of the magnet sheet and voila! Instagram Magnets! You can place them anywhere you’d like! I placed mine on the side of the refrigerator.

This might not be the easiest way, but it’s how I was able to do it! If you see any shortcuts let me know in the comments.
Good luck! I can’t wait to see them 🙂

Leave a comment